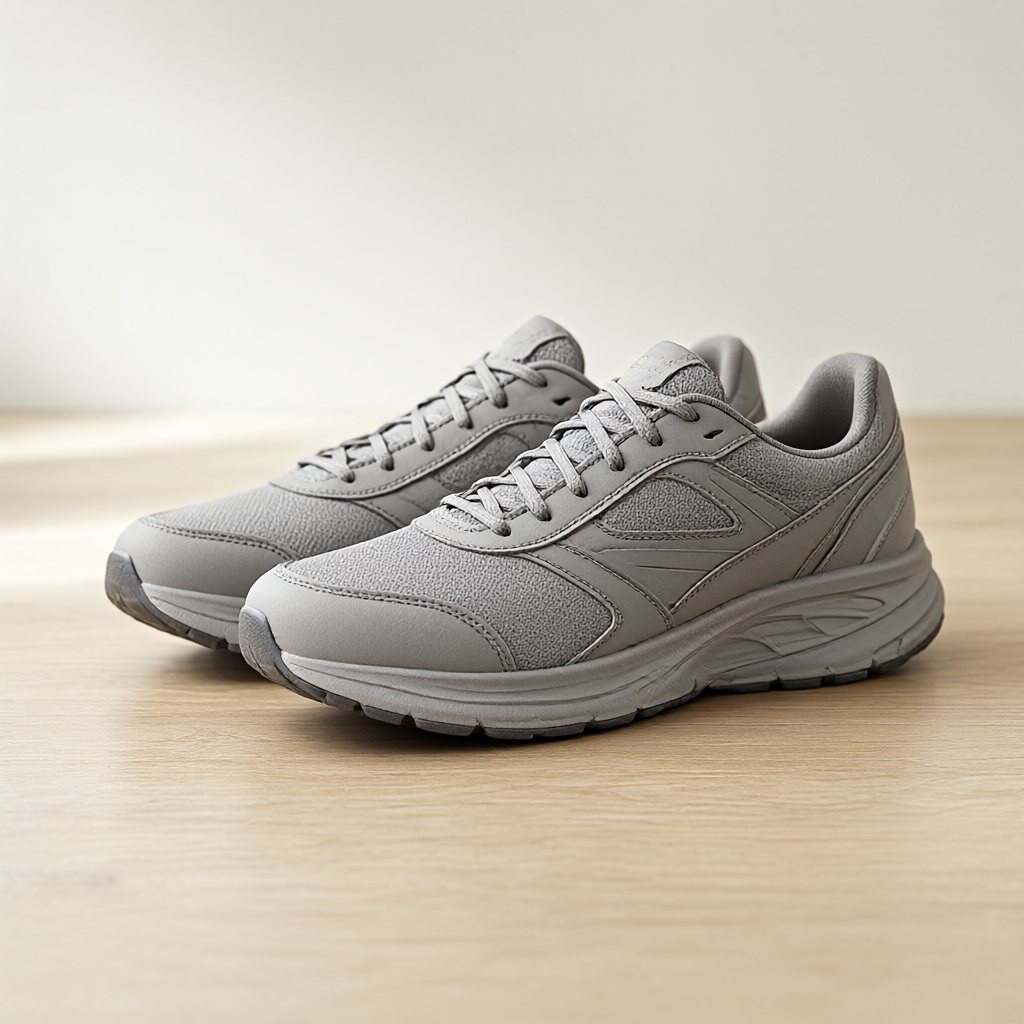
For runners with larger body mass, shoe fit is not just about comfort. The extra load increases ground reaction forces, which means any instability in the shoe is amplified. A plus size runner needs a shoe that locks the heel securely, supports the arch without overcorrection, and provides a stable midsole that does not collapse under weight. The goal is to minimize foot movement inside the shoe while allowing the foot to function naturally through the gait cycle.
Heel Lock Test: The Most Critical Fit Check
To test heel lock, place the shoe on a flat surface and unlace the top two eyelets. Slide the foot in without loosening the lower laces. Push the heel back until it touches the heel counter. If the heel can be pulled out more than a quarter inch without untying the shoe, the heel lock is inadequate. A proper heel lock means the heel counter hugs the calcaneus with no vertical gap on the sides.
After lacing normally, perform a walking test for 30 seconds. Observe any vertical movement of the heel inside the shoe. If a rubbing sensation is felt on the Achilles tendon or the sides of the heel, the shoe is too wide in the rearfoot. A shoe with a narrower heel cup or a heel lock lacing technique, where laces are threaded through the top eyelet twice to create a friction loop, may be suitable.
For runners with a wider forefoot but narrow heel, a two-lace system can help. One lace controls the forefoot width, while another controls the heel. This allows independent adjustment, which is especially useful for plus size runners who often have a wider forefoot but a standard heel width.
Arch Support: Load Distribution Without Overcorrection
The arch is the primary shock absorber of the foot. For a heavier runner, the arch collapses more under load, which can lead to plantar fasciitis or midfoot pain. The right arch support should fill the gap between the ground and the medial longitudinal arch without pushing the foot into a rigid position. A simple test involves standing in the shoe and pressing a thumb along the medial side of the arch. If the arch collapses completely under the thumb, the support is too soft. If a hard edge is felt that lifts the foot off the insole, the support is too aggressive.
A semi-rigid insole with a 3-4 mm arch height is suitable for most plus size runners. A full-length insole with a heel cradle is preferable to a half-length insert because it distributes pressure across the entire foot. Check the insole thickness at the forefoot: it should be 4-6 mm to allow toe flexion during toe-off.
For runners with flat feet or overpronation, a medial post on the insole can help. The post should be placed from the heel to the midfoot, but not extend into the forefoot. This prevents excessive inward roll while allowing the forefoot to remain flexible for a natural toe-off.
Midsole Stability: Compressibility and Torsional Rigidity
The midsole is the layer between the outsole and the insole. For plus size runners, the midsole must resist compression under body weight. Press a thumb into the midsole at the heel. If it compresses more than 5 mm, the material is too soft. A stable midsole for a heavier runner should have a durometer rating of 45-55 on the Asker C scale, which is firmer than typical running shoes.
Torsional rigidity refers to how much the shoe twists along its length. Hold the shoe at the heel and forefoot, then twist it. A stable shoe should resist twisting by more than 30 degrees. This prevents the foot from rolling inward or outward during the stance phase. For plus size runners, a shoe with a full-length TPU plate or a stiff medial post provides the needed torsional resistance.
Check the outsole width at the heel. A wider heel base increases lateral stability and reduces the risk of ankle sprains. The heel width should be at least 70% of the forefoot width. If the heel is narrower, the shoe is designed for a neutral gait and may not be suitable for a heavier runner who needs more lateral support.
Lace Adjustments: Customizing Fit for Different Foot Shapes
Plus size feet often have a high instep or a wide forefoot. The standard crisscross lacing may create pressure points on the top of the foot. The following lacing techniques can be used based on foot shape:
For a high instep, skipping the third eyelet from the bottom reduces pressure on the top of the foot while maintaining the heel lock. For a wide forefoot, lacing the first three eyelets loosely and the top two eyelets tightly allows the forefoot to spread while securing the heel. For a narrow heel, using the runner's loop at the top eyelet to create a friction knot pulls the heel back.
After adjusting laces, tying the shoe with a double knot prevents loosening. A loose lace can cause the foot to slide forward, increasing heel slip and leading to blisters. Checking the lace tension after 10 minutes of walking is recommended; if the shoe feels too tight or too loose, adjustments can be made.
Toe Box Room: Avoiding Toe Jamming and Nail Damage
The toe box should allow all toes to spread naturally when the foot is loaded. Standing in the shoe and wiggling the toes is a standard check. If the toes cannot move freely, the toe box is too narrow. For plus size runners, the toe box width should be at least 1.5 cm wider than the forefoot width at the ball of the foot. This allows for the natural widening of the foot during the stance phase.
The toe box height should have 5-8 mm of vertical space above the highest toe. This prevents the toenails from hitting the top of the shoe during downhill running or when the foot swells. If the toe box is too low, a shoe with a higher toe box or a mesh upper that can stretch may be more suitable.
For runners who experience toe numbness during long runs, the toe box is likely too narrow. Switching to a wider last or removing the insole to gain extra space is an option. A thin insole (2 mm) can replace the stock insole to increase volume without losing arch support.
Daily Wear Checklist for Plus Size Runners
Before each run, a 2-minute fit check is recommended. Place the shoe on a flat surface, step in, and confirm the heel does not slip. Flex the shoe at the forefoot to ensure the toe box is flexible. Press the arch to confirm the support is present. Walk for 30 seconds to check for any rubbing or pressure points.
After running, remove the insole and inspect it for compression marks. If the insole shows a visible depression at the heel, the midsole may be too soft. The insole should be replaced if it has lost its arch height. The outsole should also be checked for uneven wear. Excessive wear on the outer heel indicates overpronation or a too-narrow heel base.
Every two weeks, the shoe length and width can be measured. A running shoe for a plus size runner should be 0.5-1 cm longer than the foot to accommodate swelling. If the shoe has stretched beyond this, a new pair is needed. The midsole foam degrades with compression, so the shoe should be replaced after 300-400 miles, or earlier if the midsole shows creases or folds.