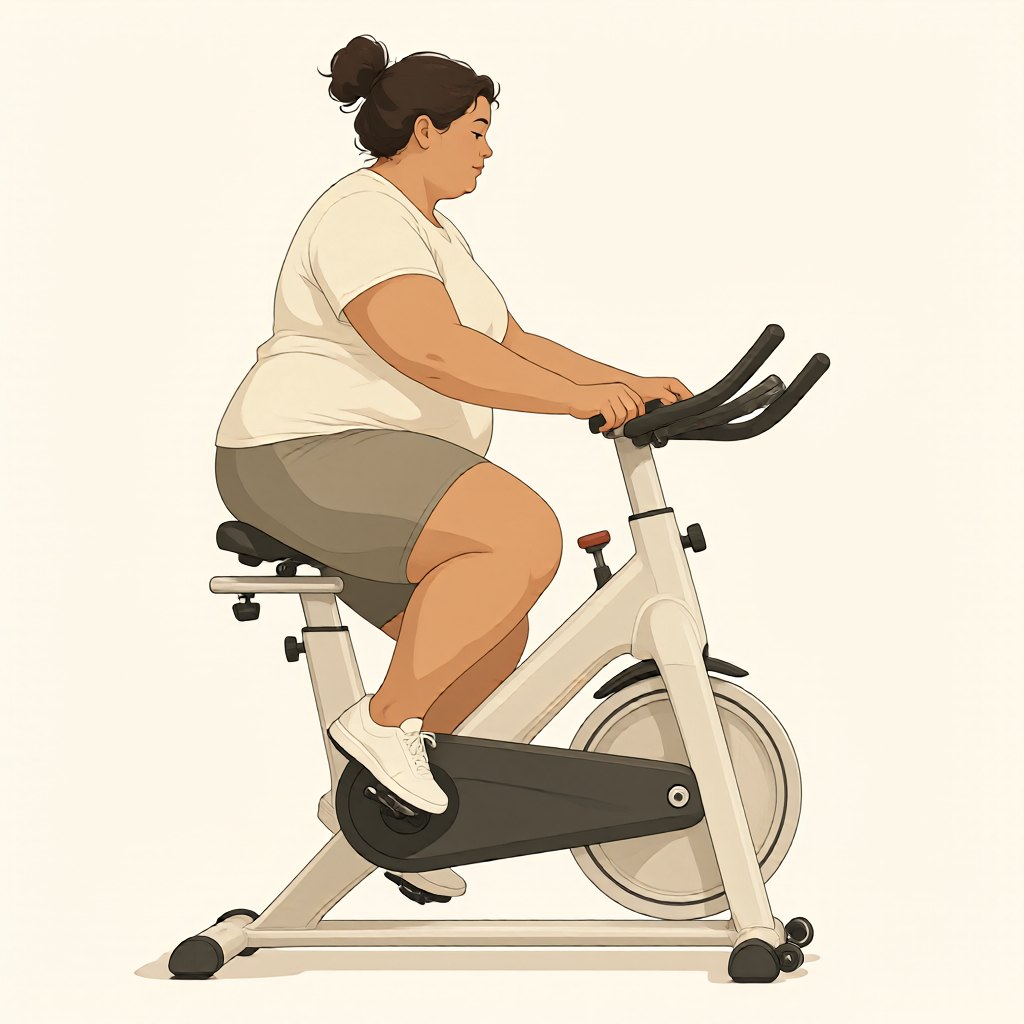
Plus-size riders need an exercise bike setup that supports wider sit bones, prevents lower back strain from overreaching, and distributes weight to avoid soft-tissue numbness. A proper fit uses measurable seat width dimensions, adjustable handlebar stack and reach coordinates, and specific pressure mapping checks to keep the pelvis stable and the spine neutral throughout the pedal stroke.
Sit Bone Measurement and Seat Width Calculation
Measuring ischial tuberosity (sit bone) spacing provides the baseline for saddle selection. Sit on a piece of corrugated cardboard on a hard, flat surface, lift the feet, and lean forward slightly to simulate a riding posture. Measure the distance between the centers of the two indentations. Plus-size riders commonly record sit bone widths between 140mm and 200mm.
Add 20mm to 30mm to the measured sit bone width to calculate the minimum saddle width required for bone support. For a 180mm sit bone spacing, the target saddle width is 200mm to 210mm. Saddles narrower than this threshold cause the bones to hang over the edges, shifting body weight onto the soft tissue of the inner thighs and perineum.
Exercise bike manufacturers often install stock saddles measuring 150mm to 170mm. A plus-size rider must replace the stock saddle with a wide-base model. Select saddles labeled with widths of 210mm or more, ensuring the padding density remains firm enough to resist bottoming out. High-density foam or a shallow gel layer over a rigid shell prevents the sit bones from sinking through the cushion and resting on the hard plastic base.
Saddle Shape and Trough Depth Evaluation
Saddle shape dictates how the inner thighs clear the seat during the downstroke. A flat or slightly concave saddle profile allows the legs to drop straight without rubbing against raised padding edges. Saddles with deep central troughs or raised rear kickups force the pelvis into a locked position, which restricts the natural side-to-side pelvic sway that occurs when larger riders pedal under load.
Check the saddle nose width. A wide nose catches the inner thigh adductors during the upstroke, creating chafing. The saddle nose should taper to a width of 40mm or less within the first 100mm of length. This taper provides clearance for larger thighs while maintaining enough surface area for forward-seated climbing positions.
Install the saddle level using a bubble level placed longitudinally on the center channel. A nose-down tilt exceeding 3 degrees slides the rider forward, driving excessive pressure onto the hands and the perineum. A nose-up tilt exceeding 3 degrees creates a pelvic lock that pushes the sit bones into the rear channel edges. Maintain a tilt between negative 2 degrees and positive 1 degree from level.
Handlebar Stack and Reach Adjustment
Handlebar reach determines torso angle and lower back loading. Plus-size riders with larger abdominal circumferences cannot fold forward over the top tube without compressing the diaphragm and straining the lumbar spine. Set the handlebar stack height higher than the saddle height to create an upright or semi-upright position. The handlebars should sit level with or up to 50mm above the saddle clamp.
Measure handlebar reach by calculating the horizontal distance from the tip of the saddle nose to the center of the handlebar clamp. For plus-size fit, reduce this reach distance by moving the saddle forward on its rails or adjusting the handlebar stem. A reach distance exceeding 450mm typically forces spinal flexion beyond 45 degrees, which overloads the L4 and L5 vertebrae during seated pedaling.
Evaluate shoulder angle at the setup position. With hands resting on the handlebars, the angle between the upper arm and the torso should remain between 90 and 110 degrees. An angle less than 90 degrees indicates overreaching, pulling the scapulae forward and rounding the shoulders. Shorten the reach or raise the stack until the elbows maintain a slight micro-bend without locking.
Pressure Mapping and Contact Zone Checks
Pressure checks identify localized tissue compression that leads to numbness or saddle sores. Conduct a static pressure test by sitting on the adjusted bike in riding shoes for five minutes without pedaling. Dismount and examine the sit bone contact patches on the saddle cover. If the indentations sit entirely on the raised edges of the saddle rather than the flat central platform, the saddle remains too narrow or the padding has compressed fully.
Perform a dynamic pedaling check at a moderate cadence of 70 RPM. Monitor the point of maximum downward foot pressure. If the pelvis rocks side-to-side to reach the bottom of the stroke, the saddle height is too high, or the saddle width forces the rider to hunt for a stable perch. Drop the saddle post in 5mm increments until the hips remain visually level throughout the full crank rotation.
Assess perineal pressure by placing a straightedge ruler across the saddle from nose to tail. The rider's soft tissue should not contact the saddle surface between the two sit bone indentations. If the center tissue bears weight, the saddle channel depth is insufficient. Select a saddle with a center cutout or a pressure-relief channel depth of at least 20mm to suspend the perineal tissue between the sit bone contact points.
Knee Tracking and Cleat Alignment for Larger Riders
Lower body alignment affects how pedal forces transmit through the saddle. Plus-size riders often exhibit a wider stance width at the hips, requiring the knees to track outward over the pedals. Observe the knee path from a front-facing angle during pedaling. If the knees point inward toward the top tube, the Q-factor (distance between the pedal attachment points) is too narrow, causing medial knee strain and uneven saddle pressure.
Adjust cleat position on cycling shoes to accommodate wider hip structure. Move the cleats laterally toward the outside edge of the shoe sole. This adjustment angles the foot slightly inward and widens the effective stance, allowing the knee to track straight over the pedal spindle. A knee tracking angle that deviates more than 15 degrees from vertical indicates a necessary cleat or pedal spacer adjustment.
Verify saddle fore-aft position relative to the bottom bracket. Drop a plumb line from the front edge of the patella with the crank arm positioned horizontally at 3 o'clock. The plumb line should fall 5mm to 10mm behind the center of the pedal axle. A position too far forward loads the quadriceps and shifts saddle pressure toward the nose. A position too far back reduces mechanical leverage and forces the rider to rock the pelvis to reach the downstroke.
Plus-Size Exercise Bike Saddle Fit Verification Checklist
Verify sit bone width plus 20-30mm matches the installed saddle width measurement. Confirm the saddle tilt falls between negative 2 degrees and positive 1 degree from level. Check that the handlebar stack sits level with or up to 50mm above the saddle. Measure the horizontal reach from saddle nose to handlebar clamp to ensure it stays under 450mm. Validate the shoulder-to-torso angle rests between 90 and 110 degrees without locked elbows. Inspect sit bone contact patches to confirm weight rests on the central platform, not the edges. Test perineal clearance to ensure soft tissue remains suspended above the saddle channel. Observe pelvic stability to confirm the hips remain level without lateral rocking during a 70 RPM cadence.