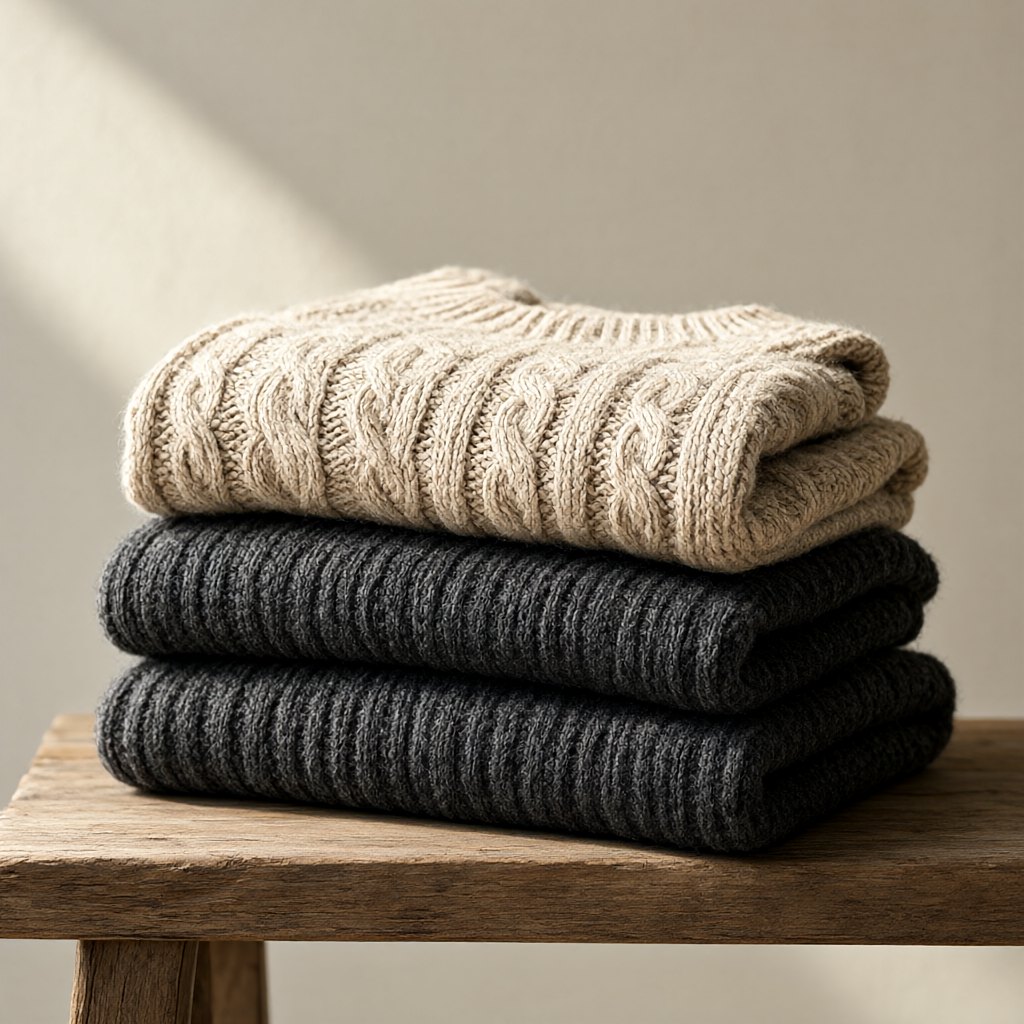
Selecting a plus-size winter sweater demands attention to construction metrics that standard sizing charts ignore. Knit gauge, rib recovery, sleeve room, and shoulder drop are the four variables that determine whether a sweater accommodates a larger frame without distortion, riding up, or restricting movement. A failure in any of these areas leads to cuffs that stretch out and stay loose, sleeves that constrict circulation, or shoulders that pull at the neck. Evaluating these factors before purchase relies on physical checks and specific measurement comparisons rather than relying on generic size labels.
Knit Gauge and Fabric Density
Knit gauge refers to the number of stitches and rows per inch of the knitted fabric. A higher gauge indicates more stitches per inch, creating a dense, tight fabric that blocks wind and resists distortion under tension. A lower gauge produces an open, lofty knit that traps warm air but stretches out easily under the lateral stress of a broader torso. For plus-size winter sweaters, a medium to high gauge provides the necessary structural stability to prevent the garment from growing in width and losing length over the course of the day.
To check knit gauge without specialized tools, stretch the fabric panel across the chest horizontally and observe the stitch definition. In a suitable gauge, the individual stitches remain distinct and do not separate into visible gaps that expose the skin or base layer beneath. If the fabric looks sheer or the stitches pull apart into a net-like structure under moderate hand tension, the gauge is too low for a larger frame, and the sweater will lose its shape rapidly. Tugging the side seams gently simulates the lateral pull of wearing; the fabric should spring back to its original dimensions immediately without remaining stretched.
Fabric weight, measured in grams per square meter (GSM), works in tandem with gauge. A sweater with a high gauge but low GSM uses thin yarn, which lacks the mass needed for winter insulation. A suitable winter sweater for a larger body combines a stitch count that maintains shape with a yarn weight that provides thermal mass. Press a hand against the interior of the sweater; the fabric should feel substantial and resist light passing through it when held up to a bright lamp.
Rib Recovery at Cuffs and Hems
Rib knit structures provide stretch and recovery, allowing cuffs and hems to grip the body without restrictive elastic bands. Rib recovery is the ability of the ribbing to return to its original contracted width after being stretched. In plus-size sweaters, poor rib recovery at the cuffs results in sleeves that slide down over the hands, and poor recovery at the hem leads to a sweater that fails to seal against cold air at the waist. The ribbing must accommodate a wider arm or hip circumference while retaining enough elasticity to snap back firmly.
Test rib recovery by stretching the cuff or hem opening horizontally to its maximum extent, holding it for three seconds, and releasing it. The ribbing should contract back to its original laid-flat width within one second. If the edge remains flared or wavy, the rib structure lacks the necessary recovery. This failure occurs when the yarn has low crimp resilience or the knit structure is too loose to pull the fabric back together. Permanent distortion at the edges is a common failure point in larger sizes where the ribbing is stretched beyond its functional limit during regular wear.
Compare the stretched measurement of the cuff against the circumference of the wearer's wrist or the hem against the hip. A cuff that stretches to 12 inches laid flat provides 24 inches of total circumference, which accommodates a wide forearm without overstretching the ribbing. If the wearer's forearm measures 18 inches, the cuff operates at 75 percent of its maximum stretch capacity, leaving insufficient tension for recovery. The ideal stretched cuff circumference should exceed the body measurement by at least 6 inches to ensure the ribbing remains in its functional recovery range rather than being pulled taut flat.
Sleeve Room Across Bicep and Forearm
Sleeve room dictates comfort and mobility in the arms, a critical factor for plus-size frames where upper arm circumference exceeds standard proportional assumptions. Sweaters constructed with narrow sleeves pull across the bicep, restrict shoulder movement, and ride up the arm when reaching forward. Adequate sleeve room requires evaluating both the circumference of the sleeve at the bicep and the taper from the underarm to the cuff. A sleeve that is wide at the top but tapers too sharply will feel tight at the forearm and restrict pushing up the sleeves.
Measure the interior circumference of the sleeve at the bicep level by laying the sweater flat and measuring across the sleeve from seam to seam, then doubling that figure. Subtract the wearer's bicep measurement from this number to determine ease. A minimum of 4 inches of ease at the bicep is necessary for a winter sweater to accommodate a base layer and allow unrestricted arm movement without straining the shoulder seam. For bulky cable knits, 5 to 6 inches of ease prevents the fabric from pulling tight and losing its insulating loft when the arm bends.
Forearm taper must also be checked. Measure the sleeve circumference 8 inches down from the underarm seam and compare it to the forearm measurement. A sharp taper creates a sleeve that fits at the wrist but binds at the forearm, causing discomfort and making it difficult to adjust the sleeves. Consistent ease from the bicep to the cuff, or a gradual taper that maintains at least 3 inches of ease at the forearm, ensures the sleeve accommodates the arm without creating a tourniquet effect that restricts circulation and generates cold hands.
Shoulder Drop and Armhole Depth
Shoulder drop is the vertical distance from the highest point of the shoulder seam to the bottom of the sleeve cap. In plus-size sweaters, a short shoulder drop combined with a high armhole pulls the fabric tight across the chest and back when the arms move forward. This tension distorts the front panel, pulls the hem upward, and creates pressure at the neck. A longer shoulder drop lowers the point where the sleeve attaches to the body, providing a wider range of motion and preventing the sweater from shifting out of place during activity.
Armhole depth works in conjunction with shoulder drop. A deep armhole allows the sleeve to hang without tension, but if it is too deep without sufficient body width, it creates excess fabric under the arm that bunches and chafes. To check the armhole, slide a hand under the armpit area of the worn sweater. There should be enough room to fit a flat hand vertically without compressing the fabric. If the hand cannot fit flat, the armhole is too shallow and will restrict forward reach. If a clenched fist fits easily with room to spare, the armhole is excessively deep, which may cause the sleeve to swing and pull at the shoulder seam.
Drop-shoulder construction, where the shoulder seam sits 2 to 4 inches down from the natural shoulder point, is frequently more accommodating for larger upper bodies. This design increases the total width across the chest and back without altering the body length, and it reduces the strain on the shoulder seams during movement. When evaluating a set-in sleeve, trace the seam line from the neck to the armhole; a seam that curves sharply into the armpit indicates a shallow, restrictive fit, whereas a seam with a gentler, wider curve provides a larger range of motion and better distribution of tension across the garment.
Pre-Purchase Measurement Checklist
Verify knit gauge by stretching the chest panel horizontally; stitches must remain closed without visible gaps. Measure the stretched cuff circumference and confirm it exceeds the forearm or calf measurement by at least 6 inches to preserve rib recovery. Calculate bicep ease by doubling the flat sleeve width at the underarm and subtracting the body measurement; retain a minimum of 4 inches of ease for layering. Check shoulder drop and armhole depth by confirming a flat hand fits vertically under the armpit without fabric compression. Ensure the shoulder seam sits at or below the natural shoulder point to prevent neck pull and chest restriction.