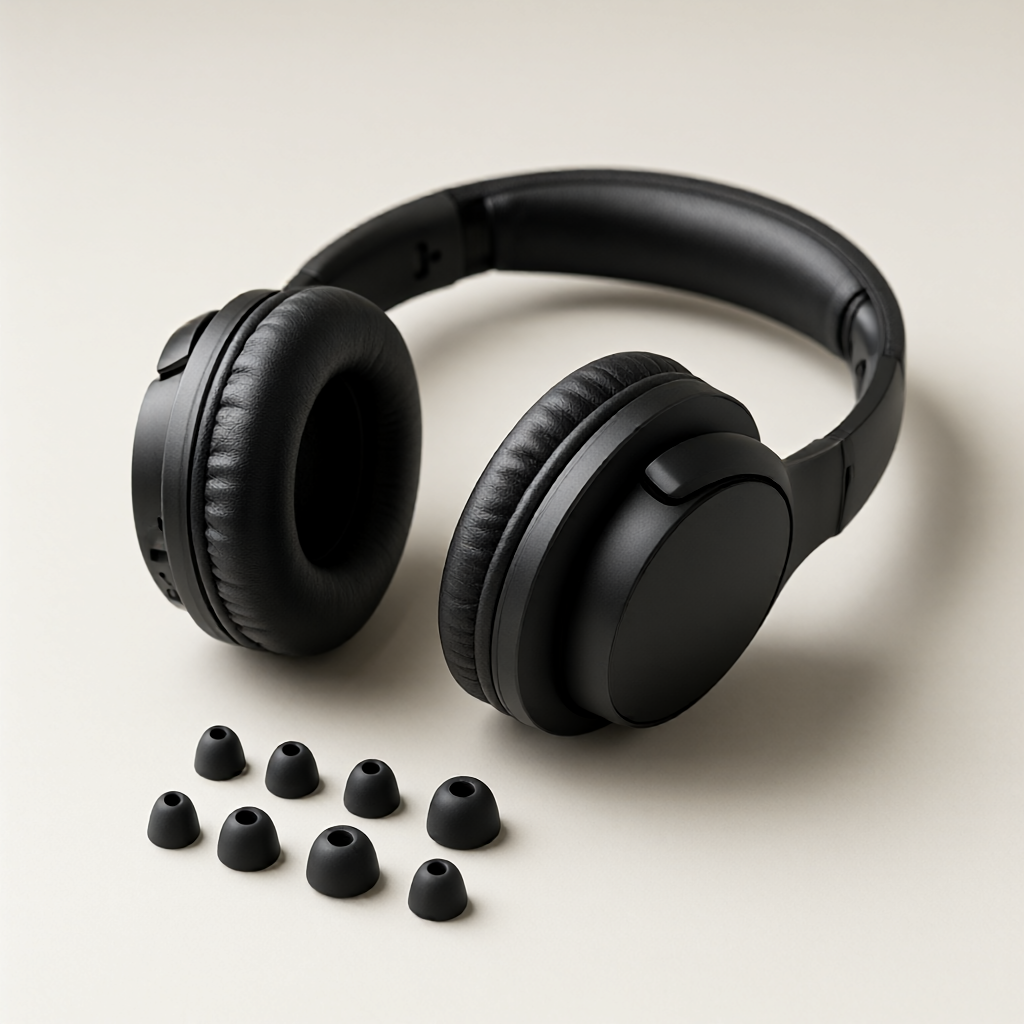
Audio device fit failures for larger users stem from three measurable mismatches: ear canal diameter exceeding standard tip sizes, head circumference surpassing headband extension limits, and ear cup depth compressing the pinna against the cartilage. Standard earbuds ship with tips maxing out at 12-14 mm, which fails to seal canals measuring 15 mm or wider. Over-ear headphones often peak at 60 cm of extension, causing severe clamping on heads measuring 62 cm or above. Addressing these requires specific dimension checks and component swaps rather than brand switching.
Ear Canal Measurement and Tip Selection
Ear canal width dictates isolation and bass response. Measure the canal opening using a caliper or a printable sizing guide after a shower when the ear is at its largest. If the anterior canal diameter exceeds 14 mm, standard medium and large tips will slip out during jaw movement. Foam tips compress and expand to fill gaps, but silicone tips provide a more consistent acoustic seal for wider canals if sized correctly.
Third-party tip kits provide sizes up to 18 mm. Select dual-flange or triple-flange silicone tips for canals exceeding 16 mm; the multiple flanges create redundant seals against the canal walls. Insert the bud by pulling the ear upward and outward to straighten the canal, then twist the tip into place. A proper seal holds the bud in place when the jaw drops open, and external ambient noise drops by at least 20 decibels. If the bud loosens during chewing, the tip diameter is undersized.
Tip material density affects long-wear comfort. Softer silicone deforms under cartilage pressure over hours, breaking the seal. Firmer silicone with a shore hardness around 50A maintains shape but can cause soreness if the diameter is slightly oversized. For canals measuring 15-17 mm, a medium-density foam tip with a slow recovery rate provides the most stable fit, expanding fully to fill the canal without exerting excessive outward pressure.
Over-Ear Headphone Headband Extension and Clamp Force
Headband extension length must accommodate the full head circumference plus the padding thickness. Measure the head circumference at the forehead and occipital bone. Headbands that max out at 60 cm of internal circumference will sit too low on the ears of a 63 cm head, crushing the top of the pinna. Look for headbands with at least 65 cm of extension capacity. Adjustable sliders should click securely at the required extension without drifting inward during movement.
Clamp force is the inward pressure exerted by the headband springs. High clamp force keeps isolation pads sealed but compresses the temporalis muscle and jaw hinge on larger heads, leading to tension headaches within 45 minutes. Measure clamp force by placing the headphones between two books on a scale; the reading in grams is the approximate clamp force. A range of 300 to 450 grams is typical. For larger heads, a clamp force below 350 grams reduces temporal pressure, but the ear pads must use memory foam with high viscosity to maintain the seal without relying on spring tension.
Headband padding width distributes the weight. Narrow padding under 20 mm concentrates pressure on the skull apex, causing soreness. Padding exceeding 30 mm wide and 15 mm thick spreads the load. The padding material must resist bottoming out; if the headband padding compresses to less than 5 mm under the headphone weight, the rigid headband frame will contact the skull. Replacement headband pads with gel cores offer higher load distribution for weights exceeding 350 grams.
Ear Cup Depth and Pinna Clearance
Ear cup internal depth determines whether the speaker driver presses against the ear. Shallow ear cups under 20 mm deep force the pinna against the driver grill, causing cartilage pain. Measure the ear protrusion from the head surface to the outer helix. The ear cup internal depth must exceed this measurement by at least 5 mm. Deep ear cups with 25 to 30 mm of internal clearance accommodate larger ears and deeper concha bowls without contact.
Ear cup width and height prevent the pinna from folding inside the pad. Oval pads should measure at least 65 mm in the vertical axis and 45 mm in the horizontal axis. Round pads should exceed 60 mm in diameter. If the ear pad aperture is too small, the outer helix presses against the pad ring, cutting off circulation and causing heat buildup. Leather and protein leather pads create a better acoustic seal but trap heat; velour or fabric pads breathe better but leak bass on low-clamp headphones.
Pad thickness offsets clamp force. Ear pads using 30 mm thick memory foam compress to roughly 10 mm under pressure. If the pad compresses completely, the ear touches the interior fabric. Replacement pads offering 40 mm of high-density foam maintain clearance. The pad must also seat fully in the mounting bracket; loose pads shift during movement, breaking the seal and altering the driver-to-ear distance, which distorts audio imaging.
On-Ear Headphone Pressure Distribution
On-ear headphones rest directly on the pinna, making them problematic for larger ears. The contact area is limited to the pad surface, concentrating clamp force onto the ear cartilage. For on-ear models to remain wearable beyond 20 minutes, the pad diameter must cover the entire concha and extend to the outer helix, requiring pad diameters over 50 mm. The pad material must incorporate a gel layer to dissipate pressure.
On-ear headbands require lower clamp force than over-ear models. A clamp force below 250 grams prevents the pads from crushing the auricle. However, low clamp reduces stability during movement. Position the headband slightly behind the skull apex to hook over the occipital bone, preventing forward slide. The hinge mechanism must have sufficient friction to hold the ear cups at the correct angle without drooping, which shifts the acoustic center away from the ear canal entrance.
Wireless Neckband and True Wireless Bud Weight Balance
True wireless earbuds rely entirely on the ear tip seal for retention. Bud weight exceeding 7 grams per side pulls downward on the seal, causing gradual slippage in wider canals. Buds weighing 5 to 6 grams with a balanced center of gravity close to the ear canal stay seated. The bud shape must follow the concha contour; stems that extend far below the concha act as levers, amplifying micro-movements into seal breaks.
Neckband earbuds route cable tension to the neck base rather than the ears. The neckband module must weigh under 40 grams to avoid pulling the collar backward. The cable length from the neckband to the bud must allow slack when the head turns 60 degrees to either side. Taut cables pull the ear tips outward. For larger neck circumferences exceeding 45 cm, the neckband rigid collar must extend at least 16 cm to rest on the trapezius without choking the base of the neck.
Fit Verification Checklist
Verify earbud isolation by playing a constant 60 Hz tone and opening the jaw; audio volume should not fluctuate. Check headband extension by placing the headphones on the head and pulling the sliders to maximum; if they reach the limit before the pads seal, the headband is too short. Test clamp force by wearing the headphones over a beanie for 10 minutes; if pressure points ache upon removal, clamp exceeds comfort thresholds for the head size.
Inspect ear cup clearance by removing the headphones after 30 minutes of wear; red marks on the outer helix indicate insufficient pad aperture. Check pinna contact by pressing the ear cups inward; if the driver grill contacts the ear, pad depth is inadequate. Validate neckband fit by rotating the head to the shoulder; if the ear bud pulls away from the canal, the cable lacks sufficient slack.